matrix-cerberus
matrix-cerberus is an application that has the ability to delegate membership of a room based on a user’s interaction with other third party services.
Features
- Send automatic invites to authorized users.
- Update room memberships based on current user's state(Invite, Kick)
- Admin panel for configuring relationships between rooms and users.
- Generate external invite URLs for a room.
Supported third party accounts
- GitHub
- Patreon
Documentation
You can find the documentation here.
Contact Us
If you have any ideas that you want to share or have any queries then feel free to join the public room #matrix-cerberus:cadair.com
Installation and Setup
In this page we go over how to setup the application for both development and production.
Local Installation
To clone the repo and install locally run
git clone https://github.com/MatrixDoctors/matrix-cerberus.git
cd matrix-cerberus
Project Setup
Follow these instructions to setup the project depending on your requirements:
- For local development/setup: development-setup.md
- For production setup: production-setup.md
- To test the changes locally: testing.md
Development Setup
This is for those who intend to contribute to this project (thank you!) or would like to play around a bit with the app by setting it up locally.
Requirements
- Docker is installed, signed in and running.
- Link to installation - https://docs.docker.com/engine/install/
- Docker compose is installed
- Link to installation - https://docs.docker.com/compose/install/
Configuration files
The configuration files are similar to the ones in production except for a few changes.
List of configuration and environment files for development:
config.ymlfor backend.env.developmentfor frontend
1) Backend configuration (config.yml)
Copy the config.sample.yml to a new file config.yml and edit the configuration as mentioned in the file.
The current config.sample.yml file is configured to be used by the backend tests to test its interactions and functionality.
2) Frontend configuration (.env.development)
Copy the following into a new file .env.development.
REACT_APP_BASE_URL=http://localhost:80
REACT_APP_DEFAULT_HOMESERVER=https://matrix.org
WDS_SOCKET_PORT=0
Note:
The last variable WDS_SOCKET_PORT is used to avoid the following error.
Browser can’t establish a connection to the server at ws://localhost:3000/ws.
We lose the hot reloading feature in this case. You can find more details about it here.
Running the application
There are two different docker-compose files available, one for development (docker-compose-dev.yml) and one for production (docker-compose.yml).
By default, docker-compose uses the docker-compose.yml file.
Use the -f flag to specify the filename
Run the following commands to start the application
docker-compose -f docker-compose-dev.yml build
docker-compose -f docker-compose-dev.yml up
You can find the application running here localhost:80/
Production Setup
Requirements
- Access to a local machine or development server as a non-root user with sudo privileges
- Docker is installed, signed in and running.
- Installation link: https://docs.docker.com/engine/install/
- Docker compose is installed
- Installation link: https://docs.docker.com/compose/install/
- Node.js and npm installed
- Use nvm to install and manage multiple versions easily.
Configuration files
First comes the configuration files. This contains all of your sensitive data (i.e third party app IDs and secrets), custom configuration, domain address and other essesntial details which will be required to get your app running properly.
List of configuration and environment files for production:
config.ymlfor backend.env.productionfor frontendnginx.confinnginx/prodfor nginx
1) Backend configuration (config.yml)
You can follow the same instructions mentioned in here
2) Frontend configuration (.env.production)
Copy the .env.test to a new file .env.production.
Edit the REACT_APP_BASE_URL to the domain url that you intend to host the application on.
You can also optionally edit the REACT_APP_DEFAULT_HOMESERVER to view this homeserver by default when the login page loads for the first time.
3) Nginx configuration (nginx.conf)
Copy the nginx.sample.conf to a new file nginx.conf under the same directory (nginx/prod).
Edit the DOMAIN_URL to the domain url that you intend to host the application on.
How to issue SSL certificates for your domain?
It is very important to make sure that the application supports HTTPS requests to protect the website and its users from other external factors.
In the docker compose file, we've mapped the the local files in certbot directory with other directories which belong to the nginx docker container.
This is to ensure that we keep using the same SSL certificates that has been generated the first time this app has been setup and also to share the data between two different containers i.e. nginx and certbot.
  nginx:
    image: "nginx:latest"
    volumes:
      - ./nginx/prod/nginx.conf:/etc/nginx/conf.d/default.conf:ro
      - ./nginx/prod/corsheaders.conf:/etc/nginx/conf.d/corsheaders.conf:ro
      - ./certbot/conf:/etc/letsencrypt:ro
      - ./certbot/www:/var/www/certbot/:ro
      - ./frontend/build:/usr/src/app
certbot:
    image: certbot/certbot:latest
    volumes:
      - ./certbot/conf:/etc/letsencrypt:rw
      - ./certbot/www/:/var/www/certbot/:rw
Run the following command to fill the certbot directory with certificates.
docker-compose run --rm certbot certonly --webroot --webroot-path /var/www/certbot/ -d {DOMAIN_URL}
Note: There is a limit to how many certificates can be generated per registered domain. (It is 50 per week) Please check out https://letsencrypt.org/docs/rate-limits/
The generated certificates are only valid for 3 months. To renew the certificates run the command
docker-compose run --rm certbot renew
If you run into any issues while setting up https and certbot, do check out this article or join #matrix-cerberus:cadair.dev so that we can work out a solution together!
Build the React frontend
To use the frontend code in production, we'll have to use the optimized build produced by the react-scripts from create-react-app.
But we first need to install the packages before we start building the code.
cd frontend/
npm install
After the packages have been installed, we can simply run
npm run build
and we will find a new build/ directory created.
This will later be served by Nginx to the clients requesting it.
Time to run the application!
Now, that you have everything setup, you can simply start the application by running the commands
docker-compose build
docker-compose up
Testing
Currently, there is no support for running tests in docker. So, you will have to setup the dependencies in your system manually.
Requirements
- Redis is installed and running
- Installation link: https://redis.io/docs/getting-started/installation/install-redis-on-linux/
- It is recommended to use
venv(virtual environment) to install the project depenendencies. This helps avoid conflicts globally.
Backend tests
We use pytest to test our backend framework.
Run the following commands to start running all the tests
cd backend/
pytest
Note: Make sure to activate the virtual environment incase you are using before you run the above commands.
Frontend tests
We use the testing framework provided by the react-testing-library and Jest runner to test the frontend code.
Run the following commands to start the tests
cd frontend/
npm run test
Usage
This page goes over the general usage of the app after it is properly setup.
You can check out the Installation and Setup page for more information about hosting and setting up the project.
This section is further divided into several other subsections based on the different webpages available:
Login Page
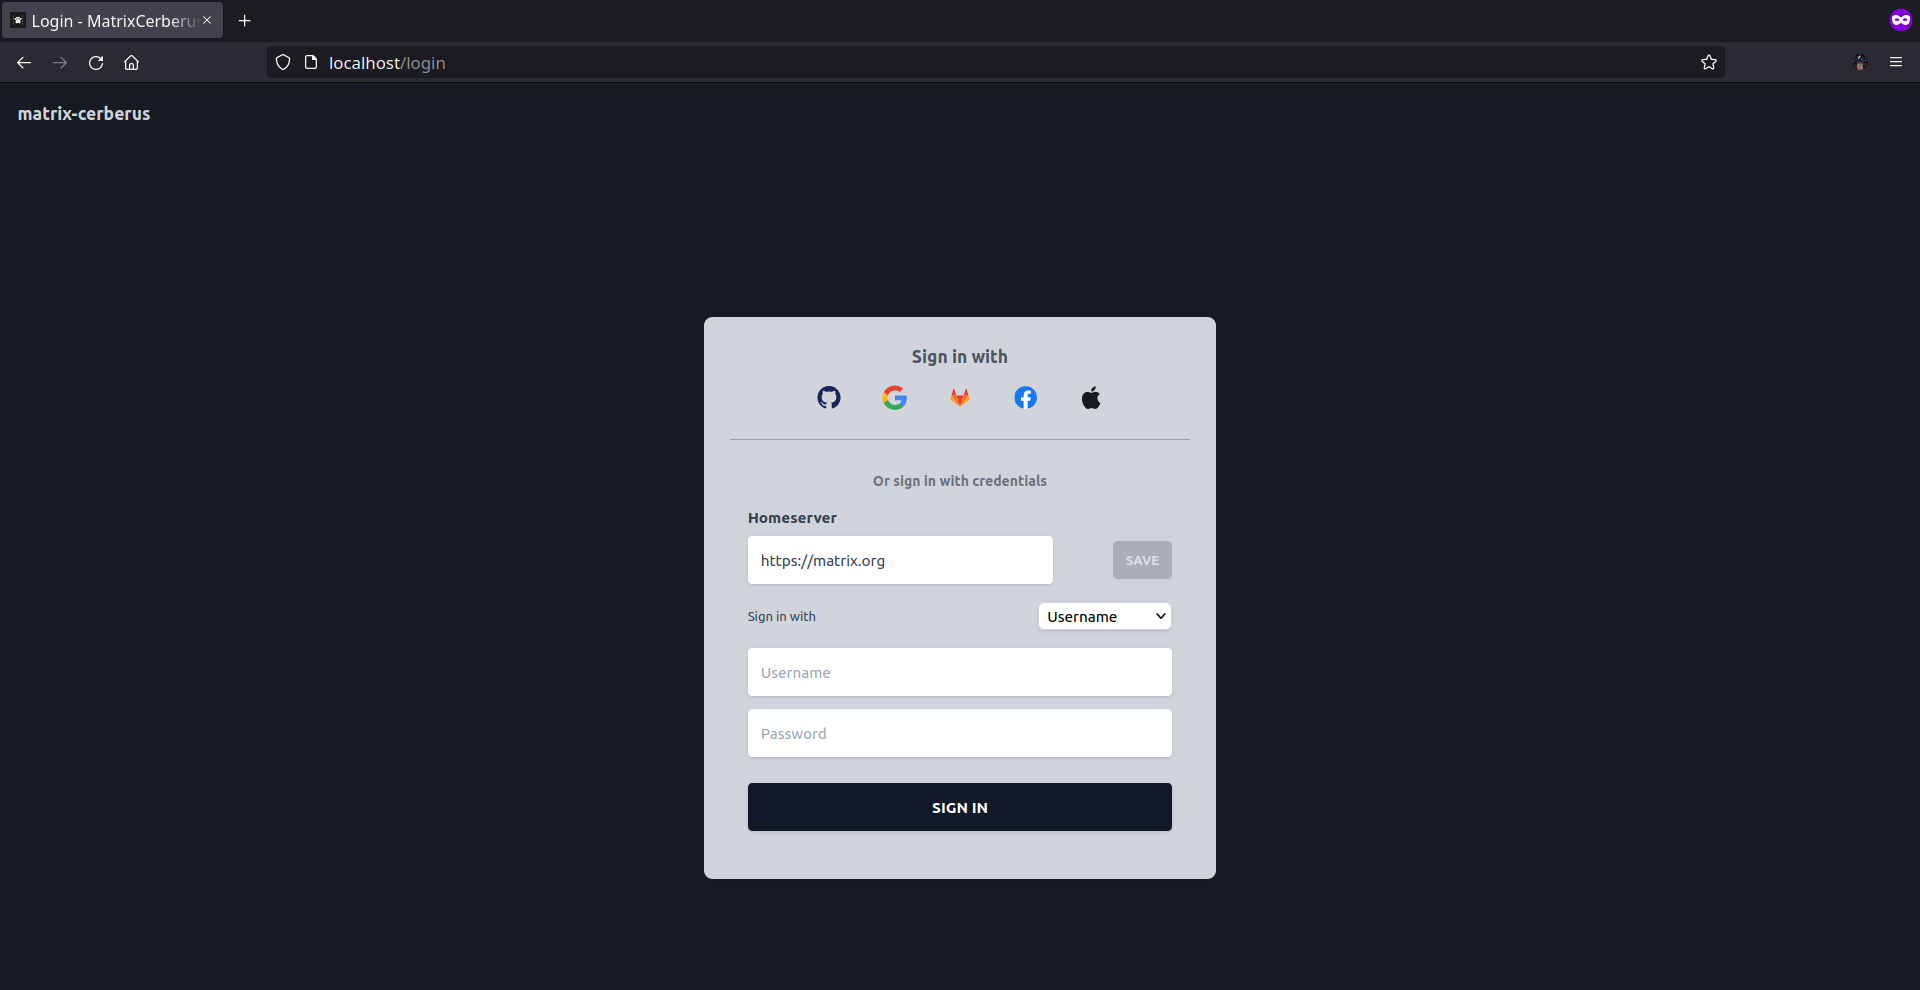
Route: /login
This is the first webpage that will be displayed to an unauthenticated user.
The functionality of this webapge is similar to the login page provided by Element.
A user can authenticate with the application by logging in to matrix through the following methods:
Accounts Page
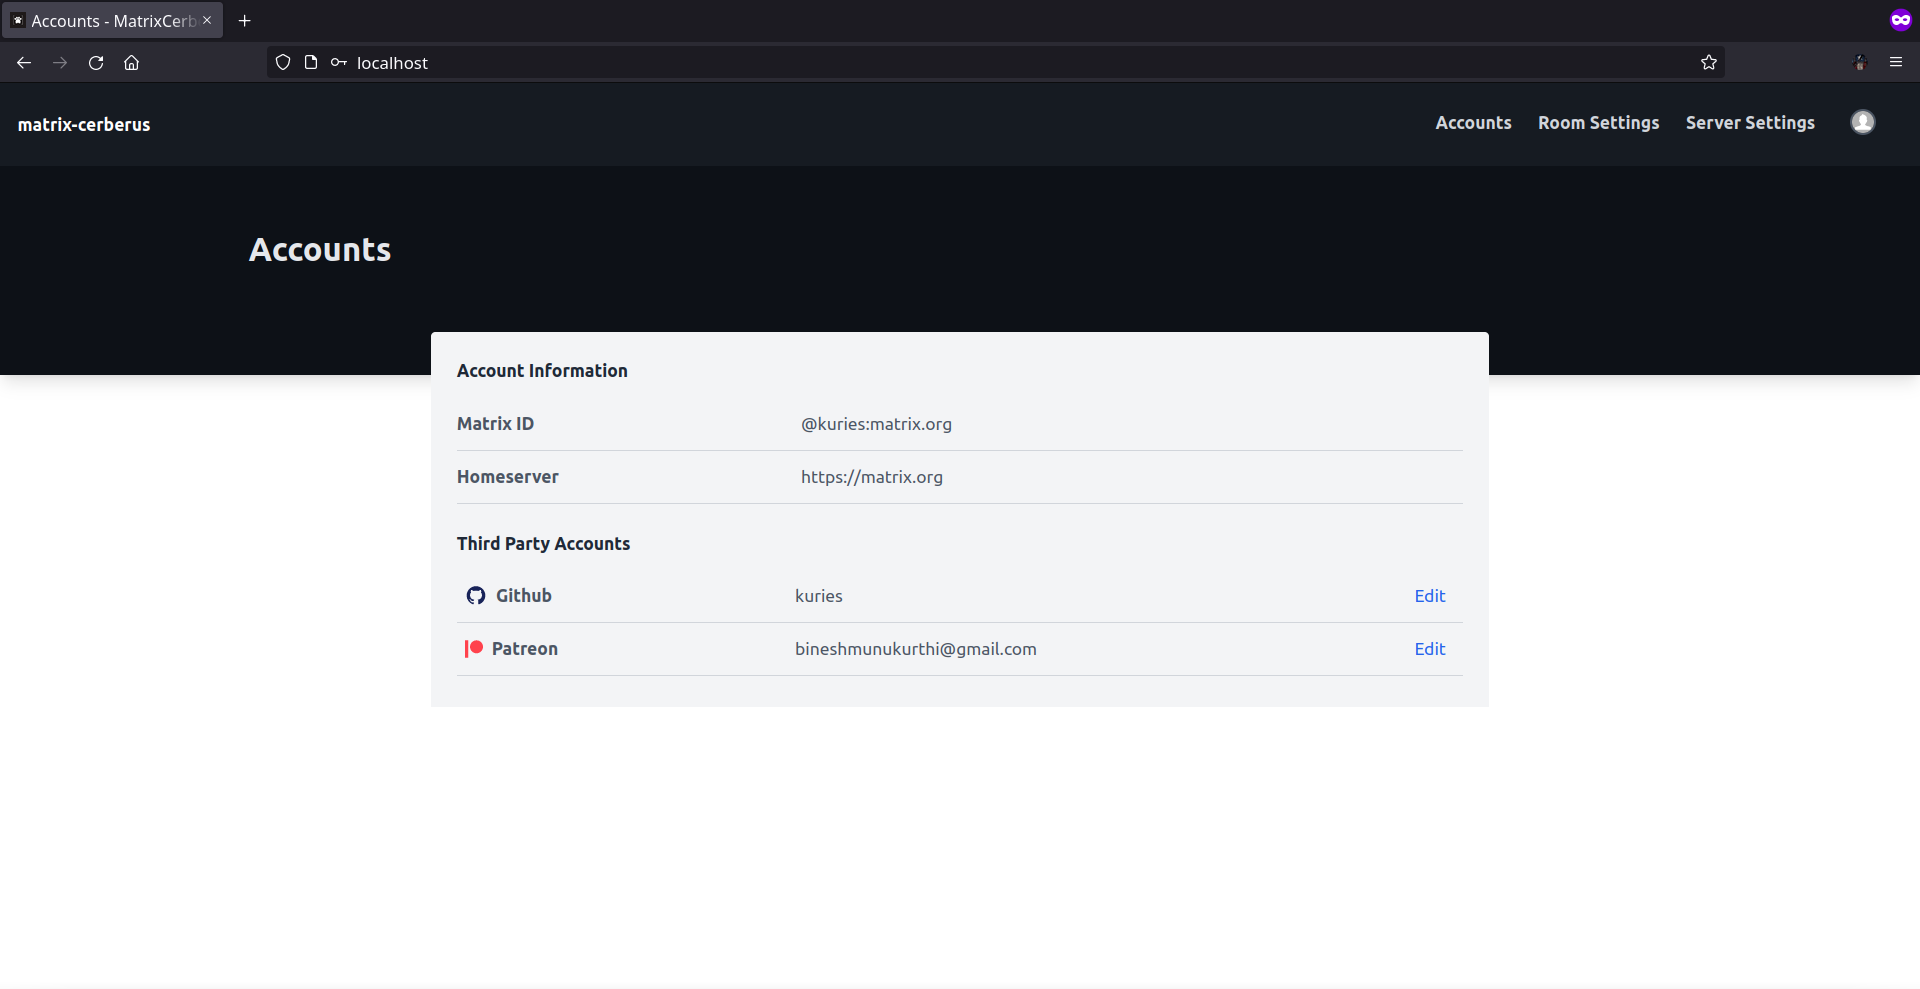
Route: /
This is the first webpage that will be displayed to an authenticated user. Unauthenticated users are redirected to the Login page.
One can view/edit their third party accounts details here.
To link a different GitHub/Patreon user account to their current matrix username, one can click on the Edit button provided and follow the OAuth process to give the application access to the third party account.
Room Settings Page
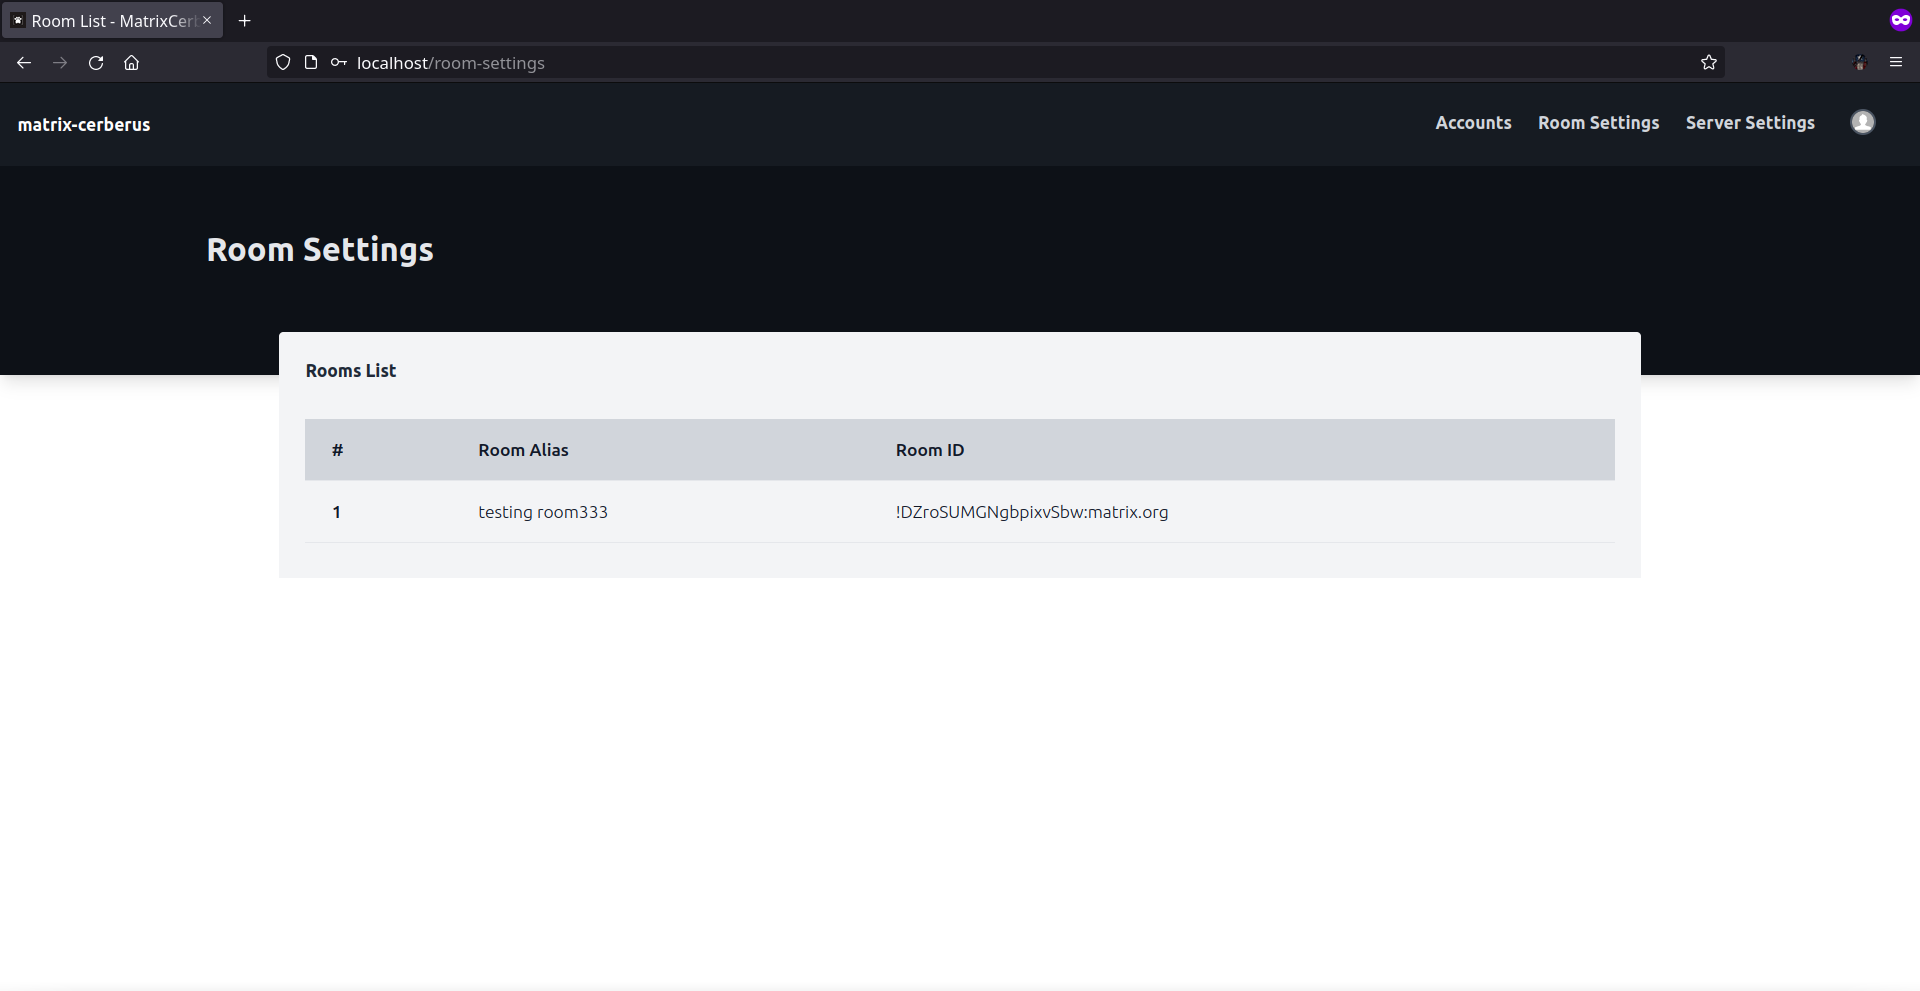
Route: /room-settings
Webpage that displays the rooms for which the current user has permissions to add third party conditions.
This can be accesible by clicking on the Room Settings on the navbar.
Each row in the table will open a specific Rooms webpage by appending room_id as a path paramater to the end of /rooms route.
A room_id will appear among the list of rooms only if it satisfies the following:
- The current user is a member of the room and has minimum power level.
- Bot is a member of the room and has invite, kick permissions.
Rooms
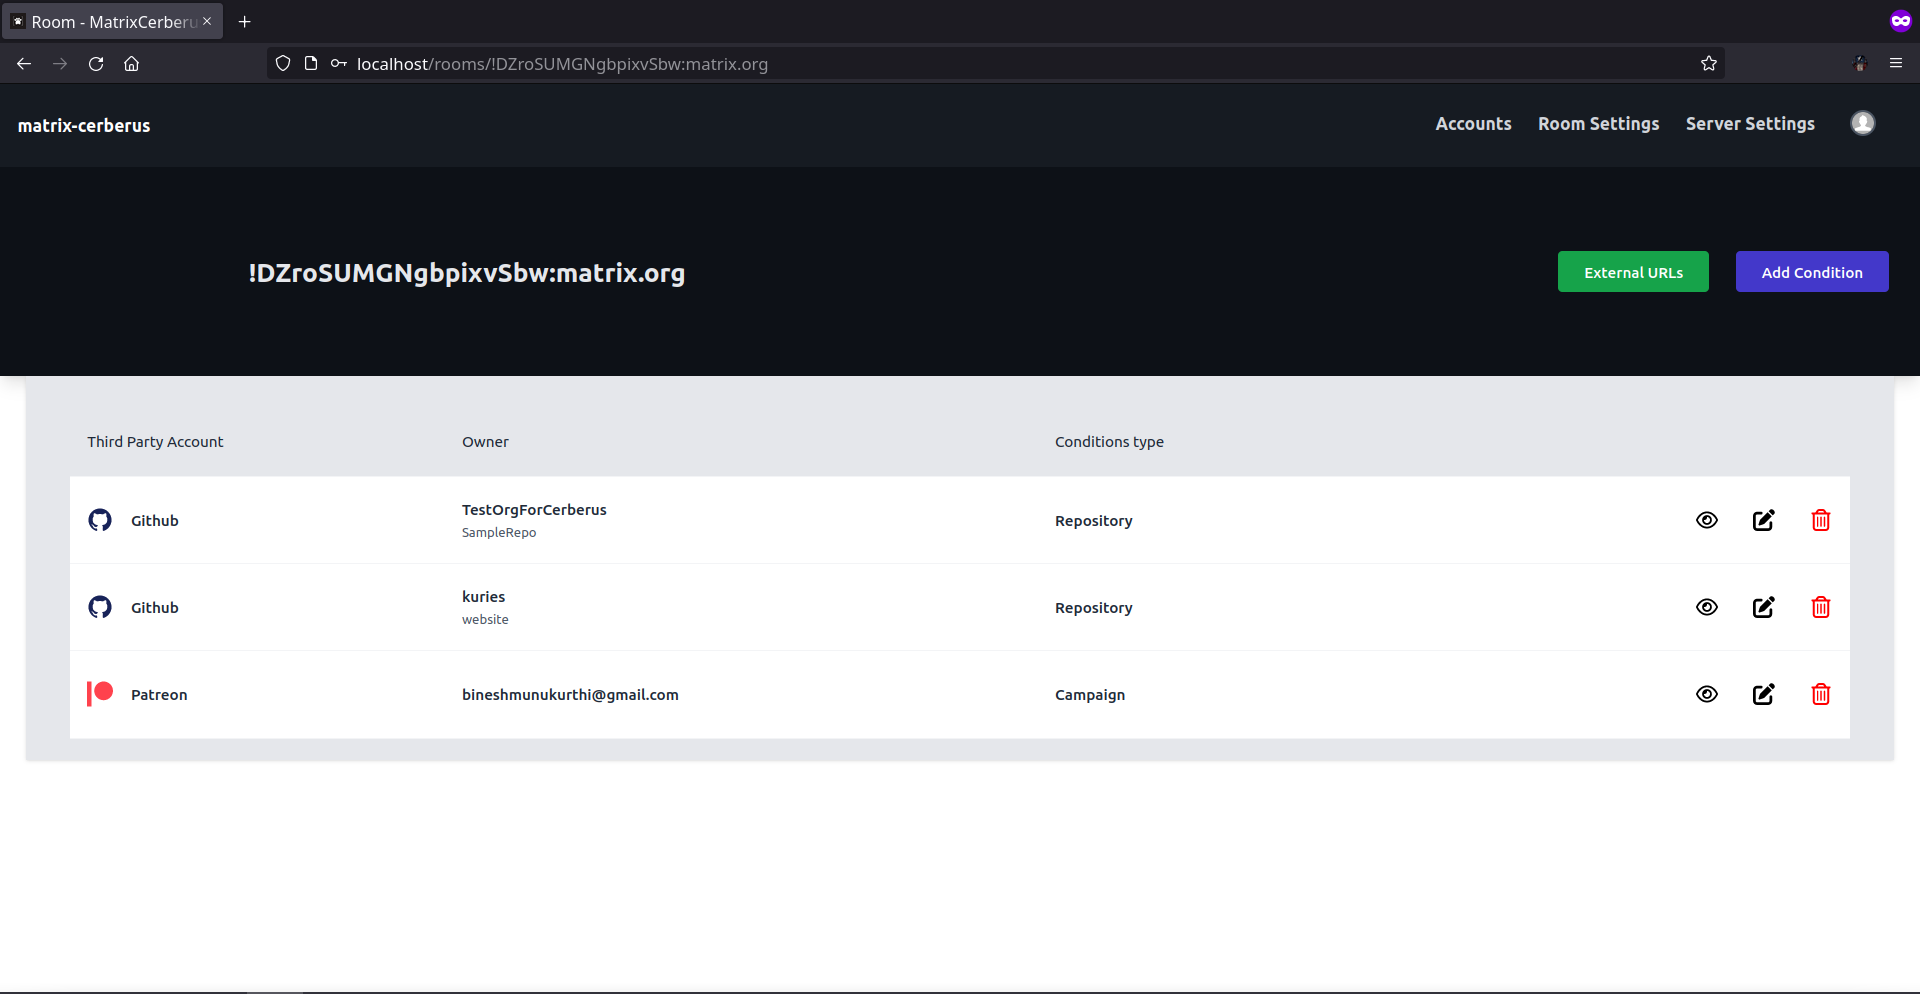
Route: /rooms/{room_id}
This webpage is specific to the room_id for which the current user intends to edit third party conditions.
There are two buttons available right below the Navbar (i.e. External Url and Add Conditions) where each directs the user to different webpages.
Add Conditions
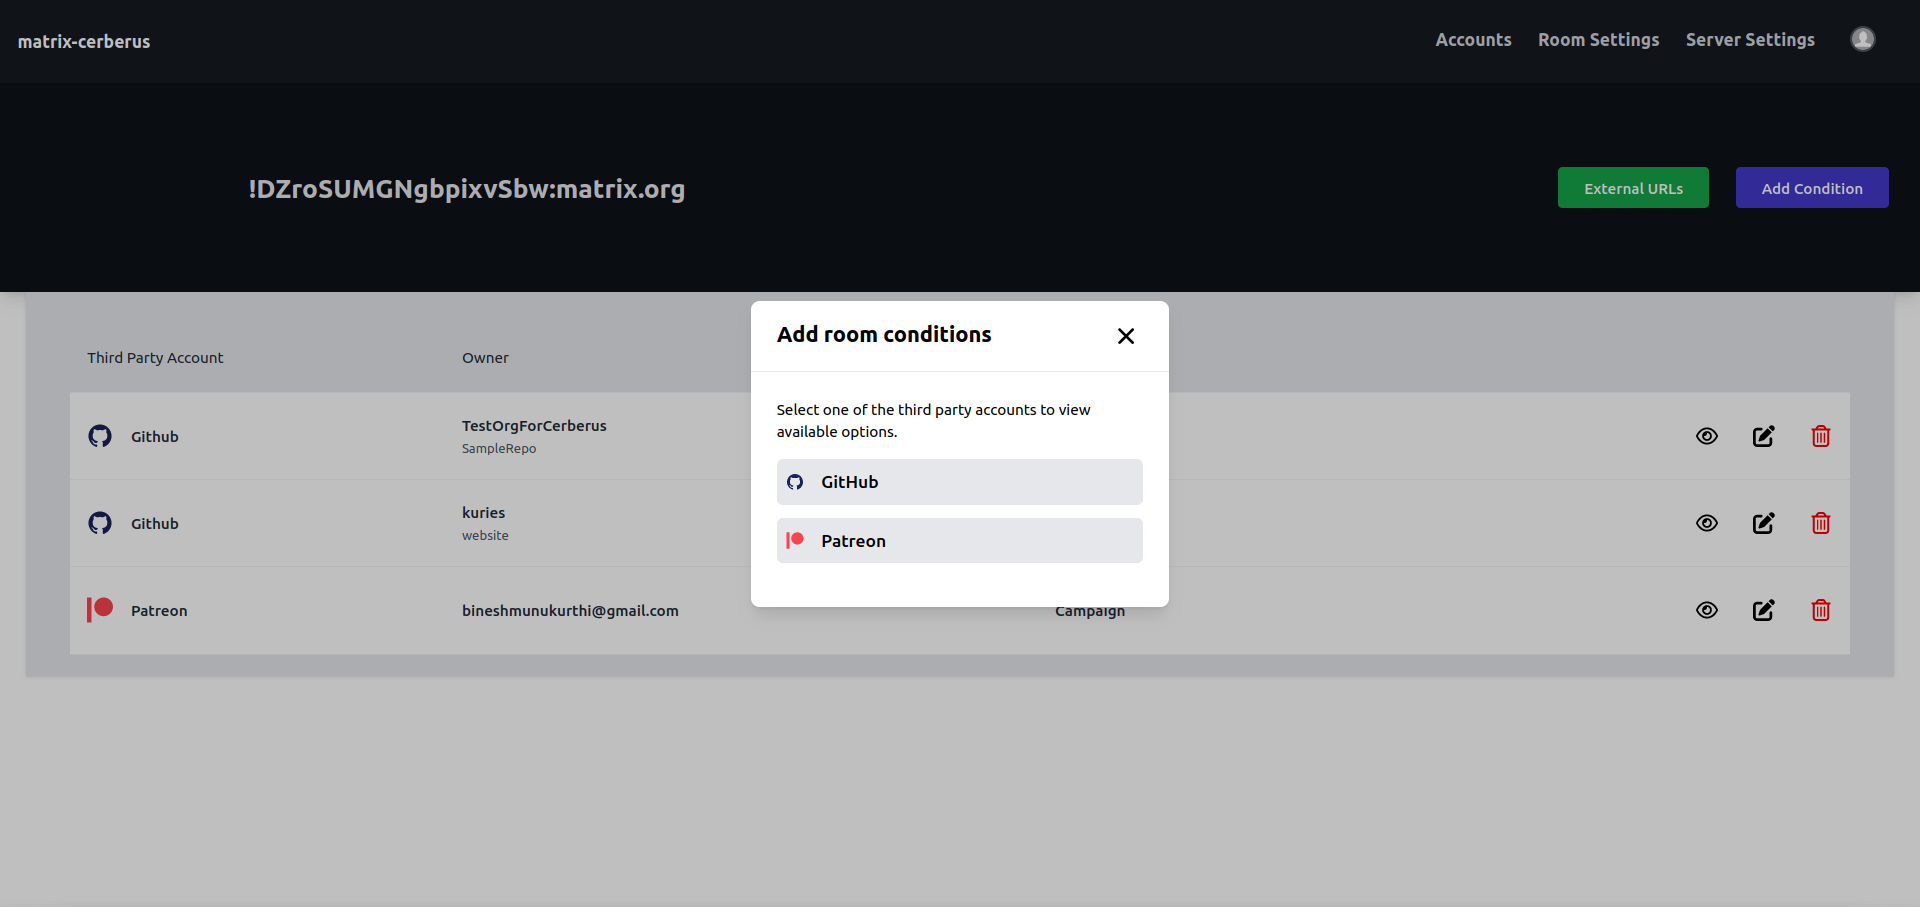
The "Add conditions" button opens a modal which displays all the third party services currently supported by the application.
Each option leads to a webpage listing out the options based on the third party account linked with matrix user ID.
For more details on how to add conditions specific to a third party service, check out the following pages
Edit Conditions
One has the option to preview/edit/delete the existing coniditions for a particular room.
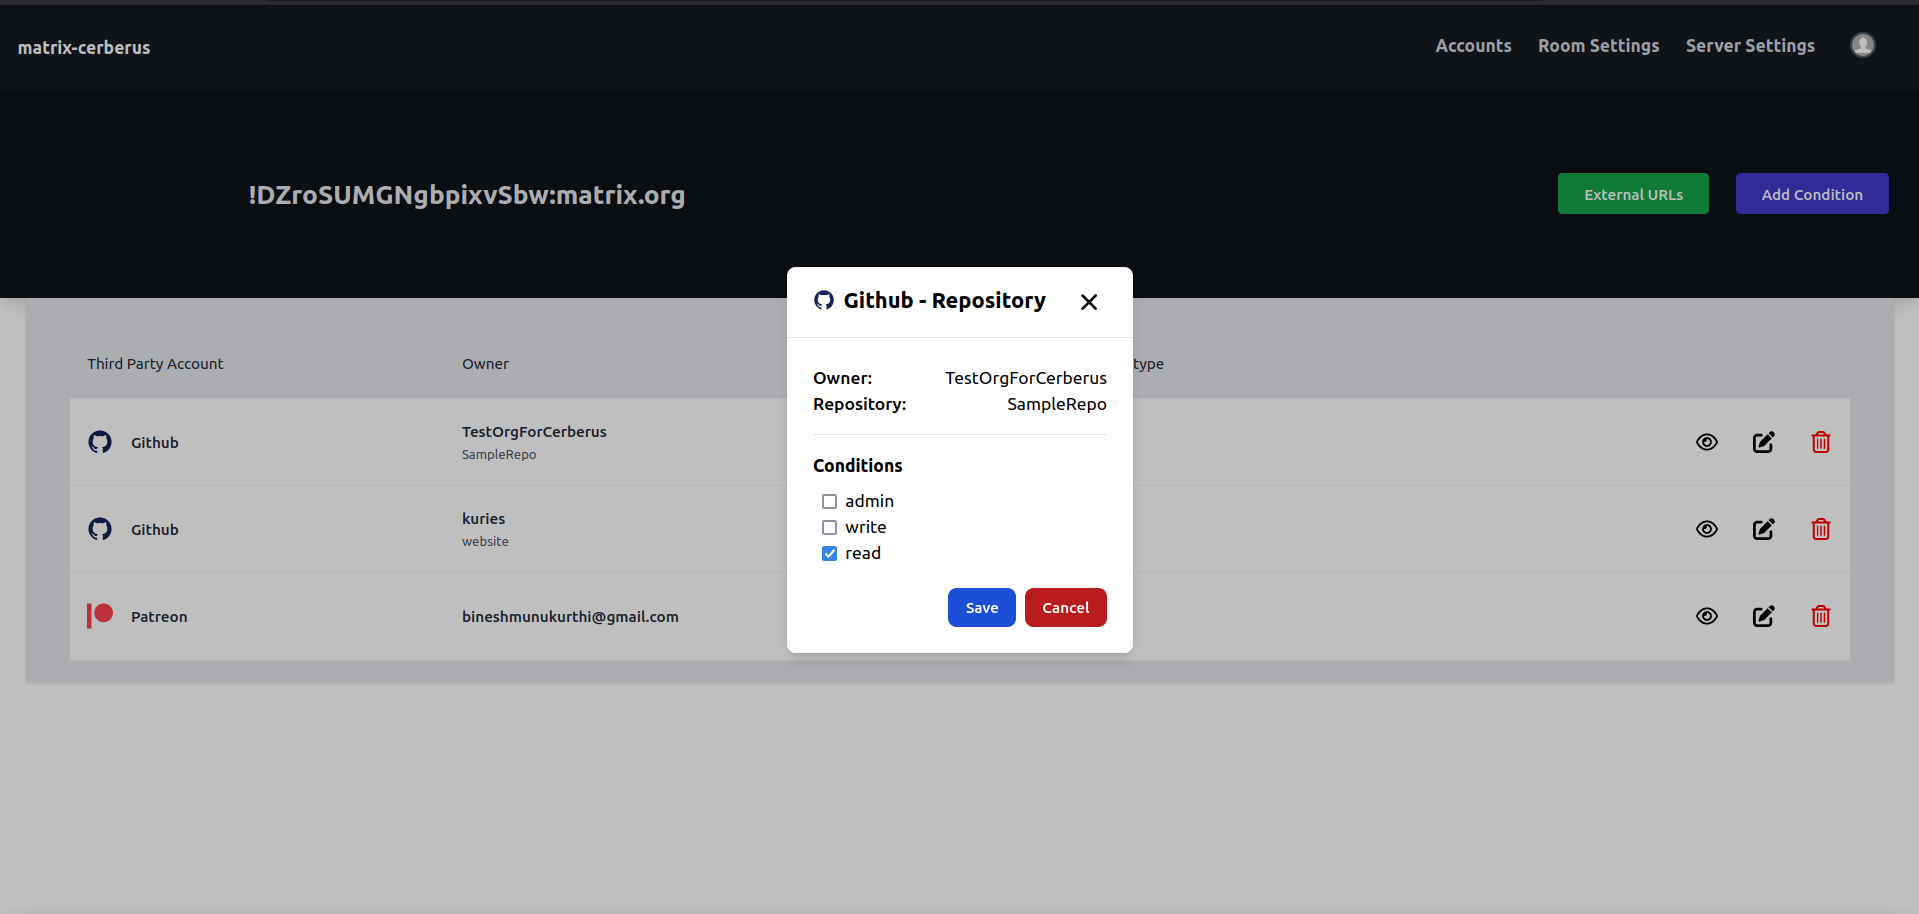
How do these conditions work?
To keep it brief, all of these conditions work in a "if any one of these are satisfied then let them in otherwise, don't" manner.
For example if there are two conditions set for a room,
- Allow users with read only access to "TestOrgForCerberus/SampleRepo" repository to join the room.
- Allow patreon users who have contributed atleast 55$ to Bob's campaign join the room.
If a user has write permissions for the SampleRepo and contributed 60$ to Bob's campaign then they satisfy only condition 2. (Since, condition 1 is only asking for read-only users) In this case, the user will be invited to the room if they are not already part of the room.
What if they fail to satisfy any of the conditions present?
In this case, the user will either be
- kicked from the room
- invite is withdrawn or
- knock will be rejected
depending on their current state.
Room External URL
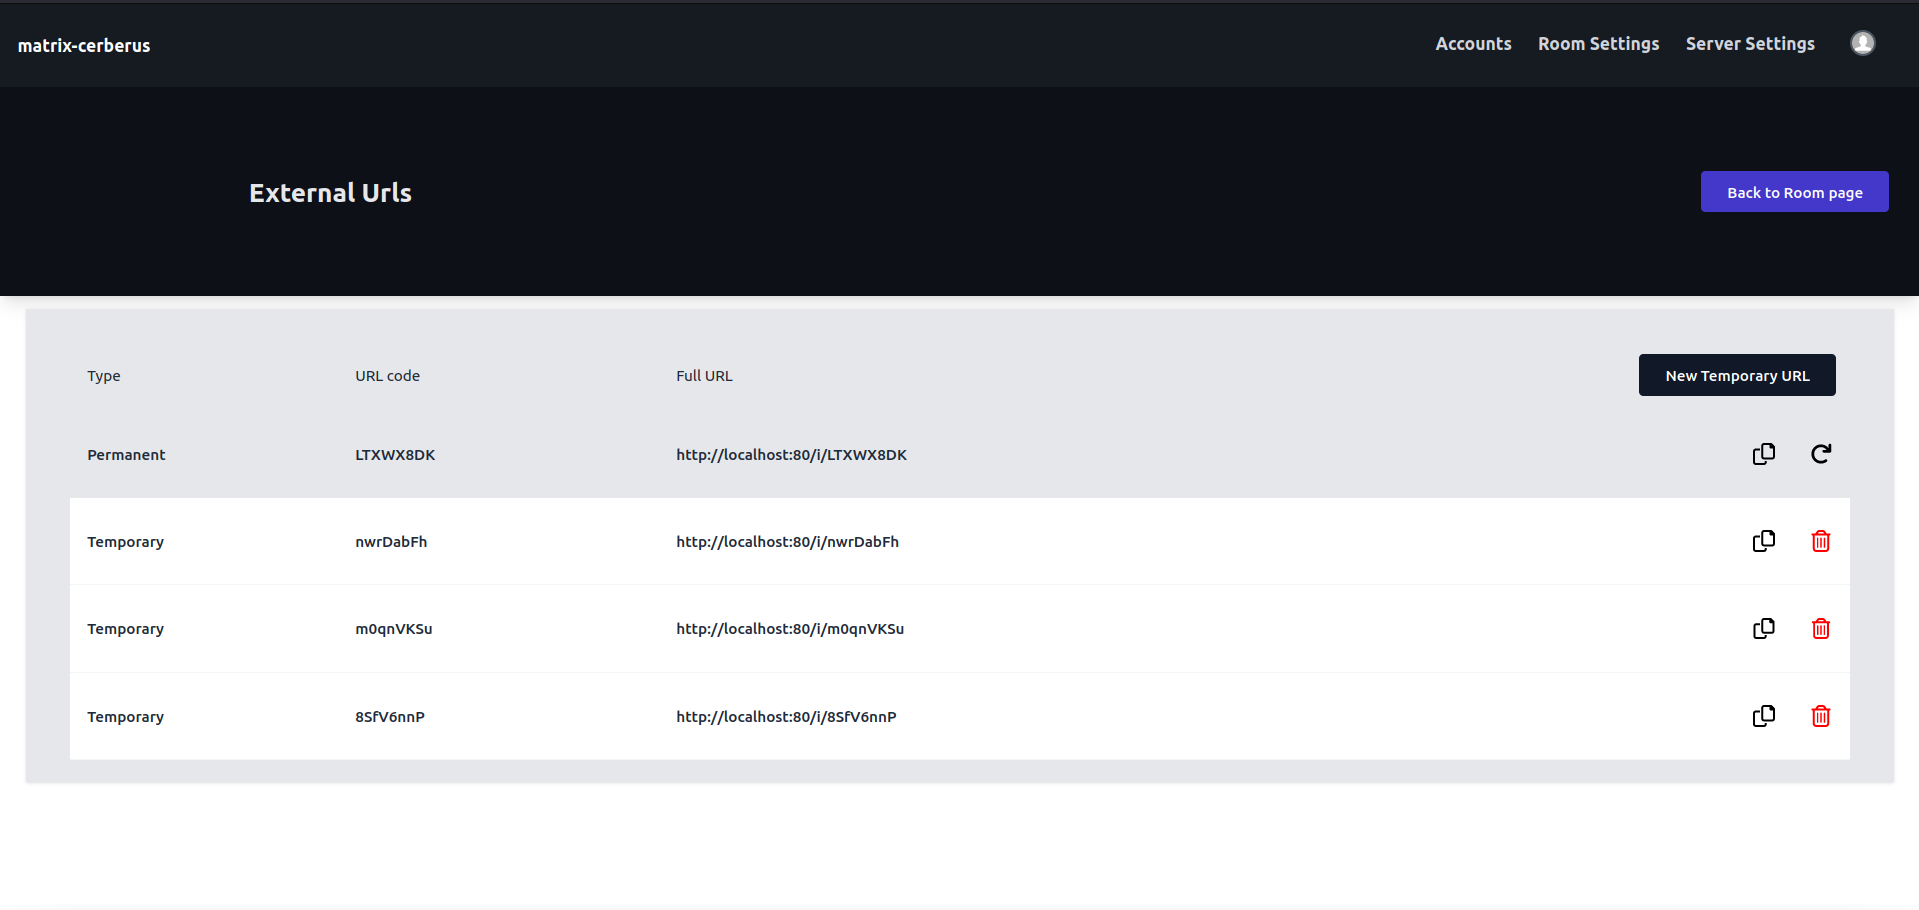
Route: /rooms/{room_id}/external-url
All the external URLs for a particular room will be available here.
The URLs are of two types:
- Permanent
- Temporary (single use only)
For permanent URL, you have the option to generate a new URL in place of the existing one. For temporary URLs, you can either delete or add a new one.
GitHub Conditions

Route: /rooms/{room_id}/github-conditions
This page consists of a list of dropdowns and each dropdown is categorized either as User or Org.
There will be only one User and multiple Orgs in this page.
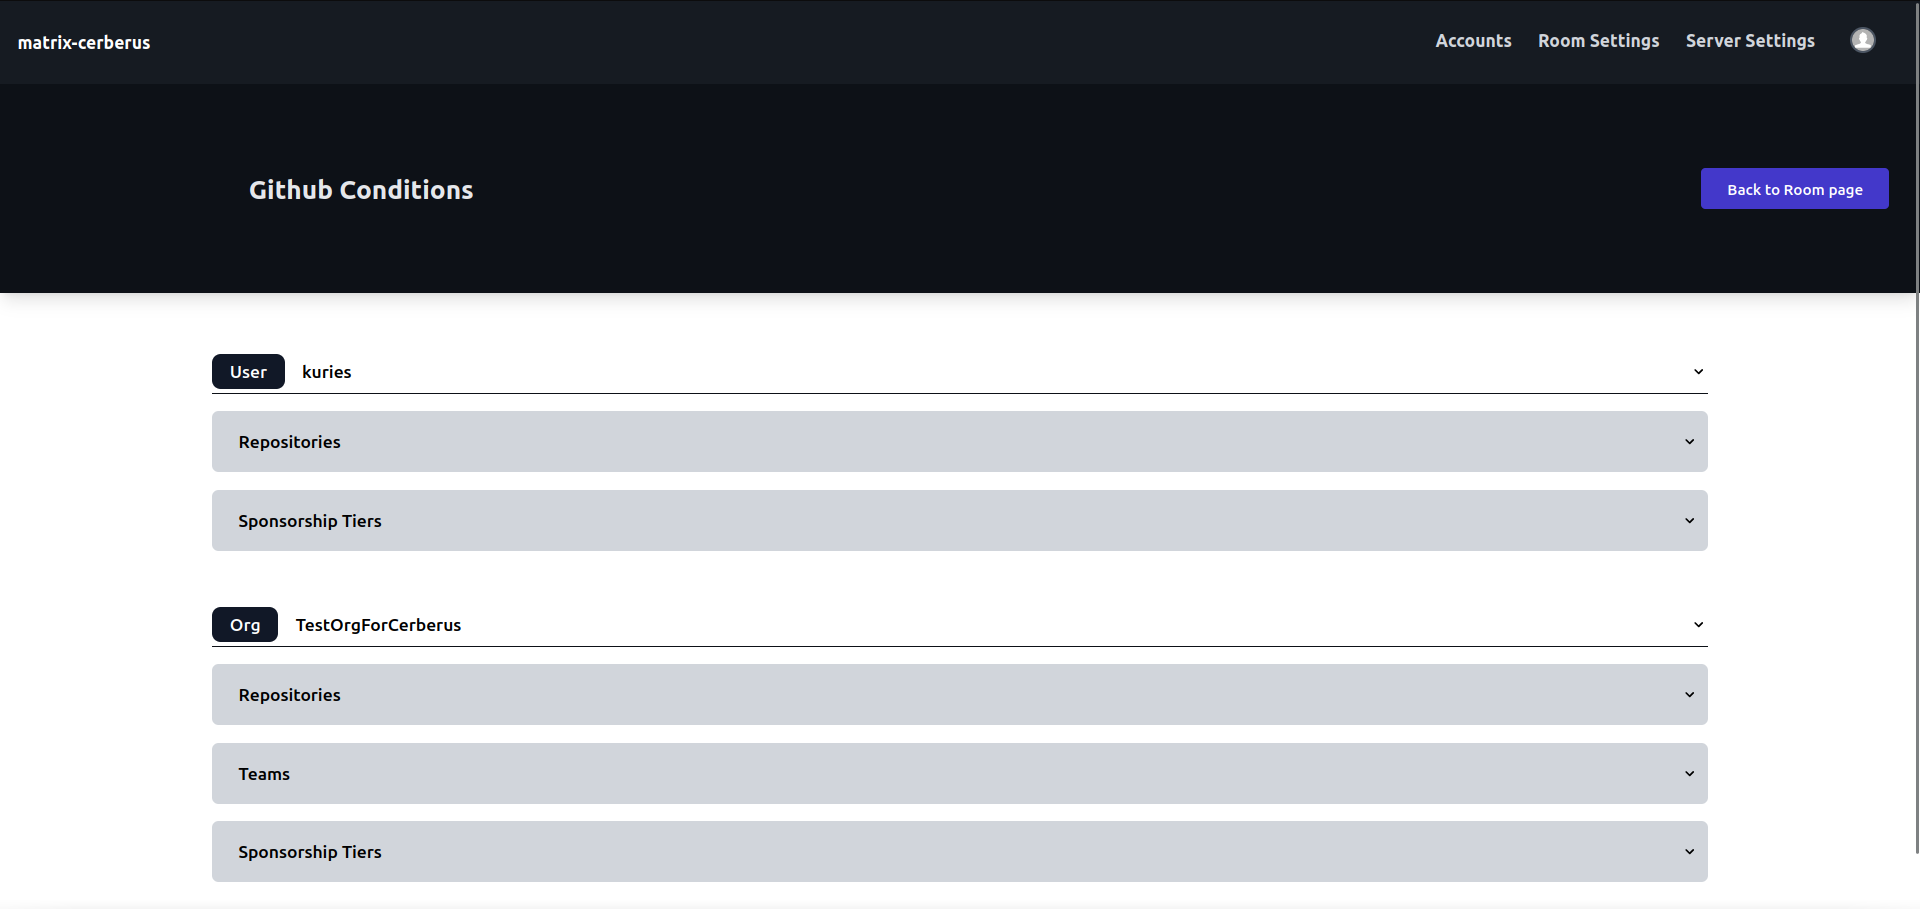
There are three kinds of conditions available for GitHub:
- Repositories
- Teams
- Sponsorship tiers
Any changes made here will be reflected in the Rooms webpage.
Patreon Conditions
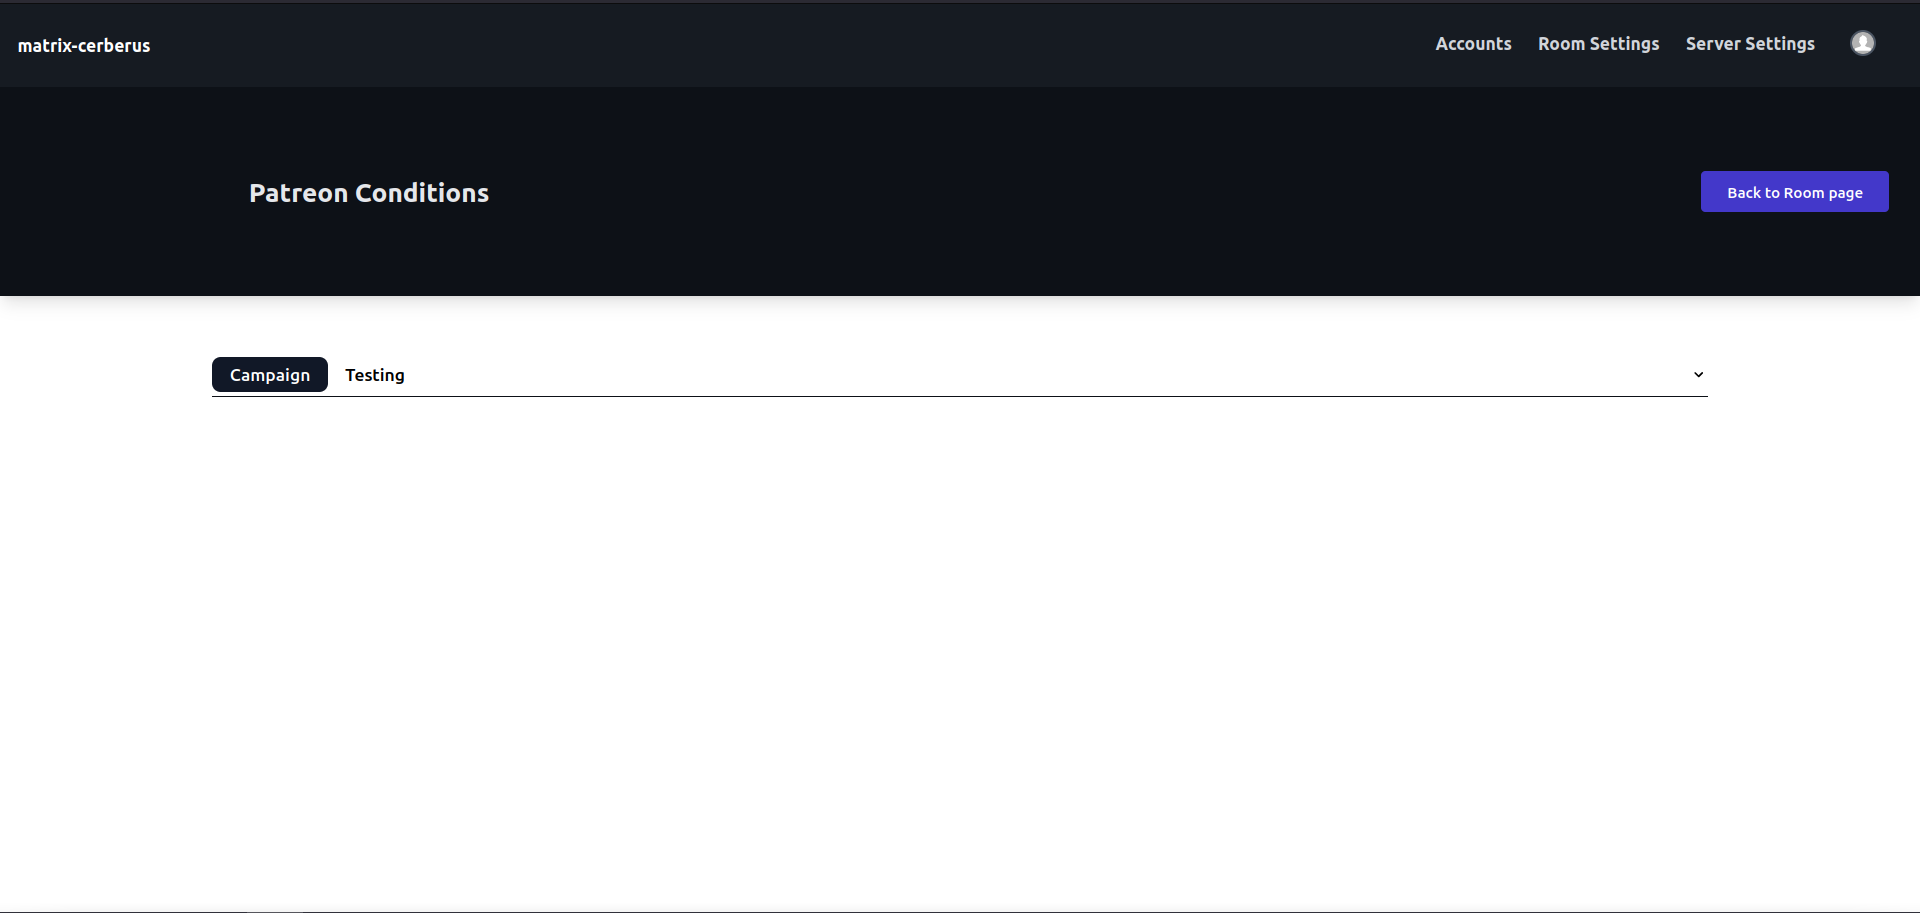
Route: /rooms/{room_id}/patreon-conditions
This webpage displays the conditions for a single campaign under the current user. (It is assumed that a patreon user is responsible only for one campaign.)
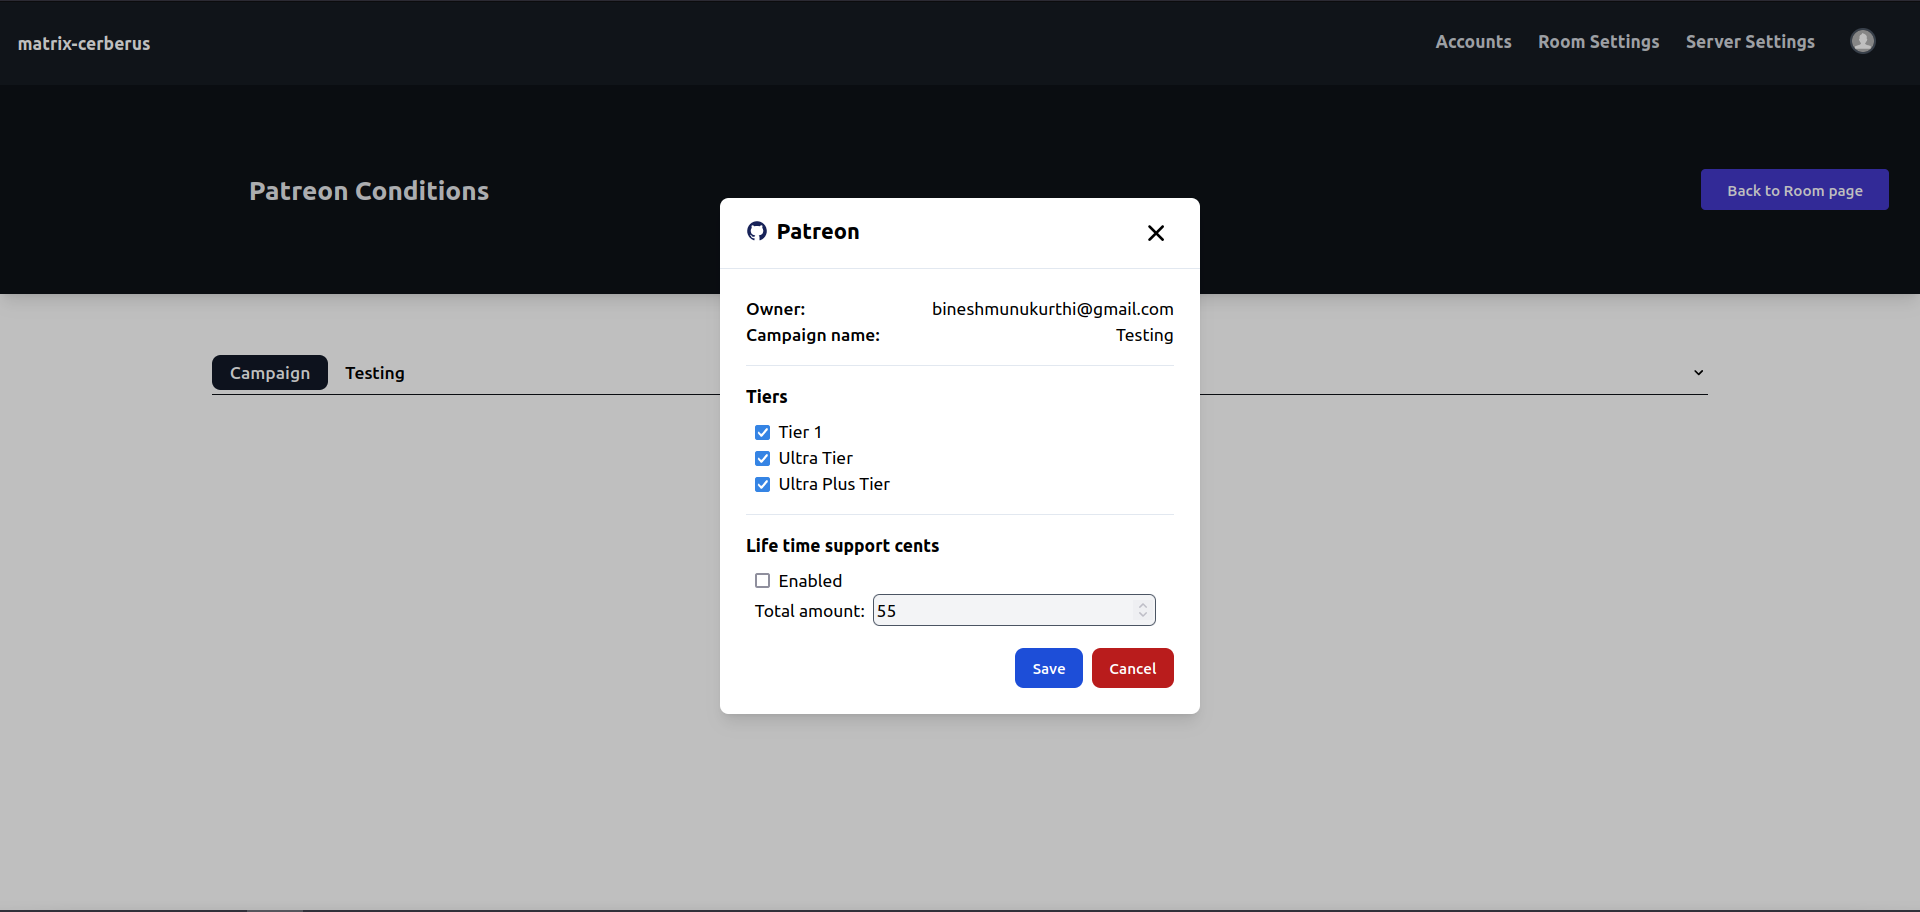
There are two types of conditions available for Patreon:
- Tiers
- Life time support cents
Additional Resources
I worked on this project as part of GSoC'22. I have blogged about my entire journey at https://kuries-gsoc.blogspot.com/. It includes details about each week's progress, bugs encountered and how they have been solved and the thought process behind the entire project. If you are interested, do give it a read!